Why this matters now
For the first time since 2007, the Human Factors and Ergonomics Society (HFES) is revising the U.S. workstation standard, ANSI/HFES 100. A public draft of ANSI/HFES 100‑2026 is out for comment, with HFES confirming the update is in progress and inviting feedback through May 16, 2026. If you run a typing test site (or you’re just serious about keyboard ergonomics), this is your moment to convert the draft’s guidance into everyday measurements you can make at home—and even into real‑time coaching inside typing tests. (hfes.org)
The 2026 draft modernizes the standard around multivariate anthropometry: rather than sizing to a single body dimension, it aims to accommodate 90% of intended users across multiple dimensions at once, supported by HFES’s Virtual Fit Tool (VFT). (hfes.org)
The short list: what the draft says (so you can measure it)
Below are the highest‑leverage, keyboard‑centric items you can actually tape‑measure, level, and adjust at home. Numbers are from the BSR/HFES 100‑2026 draft as of June 2026 and may change in the final edition.
- Neutral wrist targets and upper‑body angles
- Elbow: 70–135°; Shoulder abduction: <20°; Shoulder flexion: <25°; Wrist flexion/extension: <30°; Torso‑to‑thigh: ≥90°. Keep hands aligned with forearms (avoid bending up/down or side‑to‑side). (hfes.org)
- Keyboard slope and thickness
- Conventional keyboard slope (unadjusted): 0–15° positive; alternative designs may go negative if it helps keep wrists neutral. Preferred keyboard thickness (home‑row height from desk): ≤30 mm, not to exceed 35 mm. (hfes.org)
- Input‑device surface tilt (trays, desks)
- Sitting: allow tilt roughly –15° to +20° (including 0°).
- Sit/stand systems: allow a wider range, –45° to +20°. (hfes.org)
- Input‑device surface height (floor to top edge nearest you)
- Sitting‑only: about 584–769 mm (23.0–30.3 in) after shoe allowance.
- Standing‑only: about 944–1207 mm (37.2–47.5 in) after shoe allowance. (hfes.org)
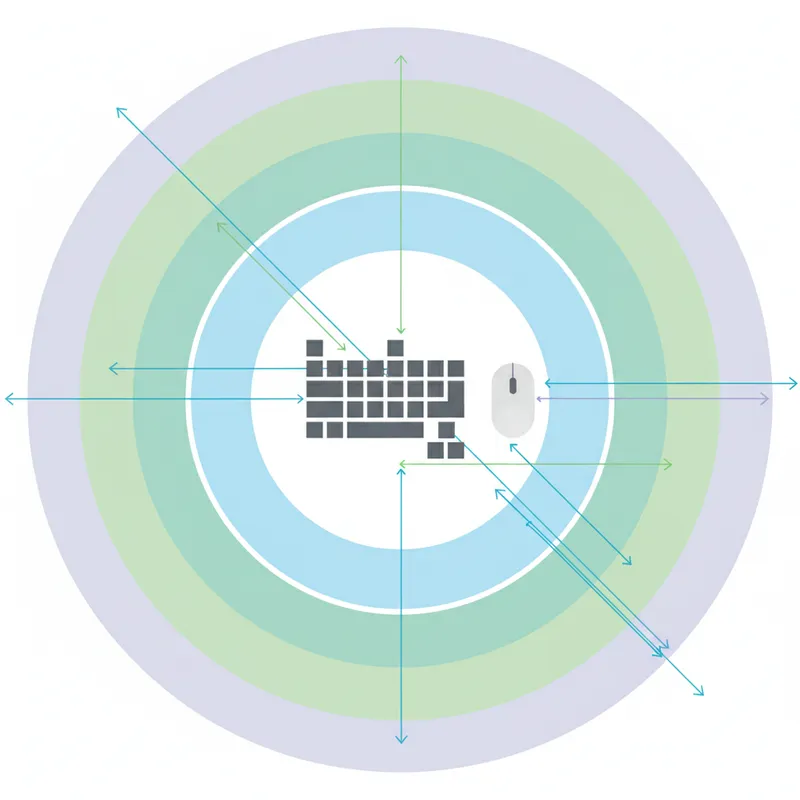
- Reach zones (where to put the keyboard/mouse)
- Primary zone: the easiest‑to‑reach area; place the keyboard and primary pointing device fully within it to keep shoulders close to neutral. (hfes.org)
- Display for context (helps posture): at least 500 mm (19.7 in) viewing distance; position to keep gaze within common ergonomic angles so you’re not craning forward. (hfes.org)
Why bother? Work‑related musculoskeletal disorders (WMSDs) remain a leading cause of lost‑time injuries in the U.S., and good ergonomics—position, reach, and neutral wrist—reduces risk while helping speed and accuracy. (bls.gov)
A printable at‑home workstation checklist (keyboard edition)
Use a tape measure, a small bubble level (or phone app), and a ruler. Check the boxes as you go.
1) Chair and elbows
- [ ] Set chair height so thighs are roughly level and torso‑to‑thigh angle is ≥90°. Elbows relaxed 70–135°. If feet don’t rest flat, add a footrest. (hfes.org)
2) Keyboard location and height
- [ ] Place the keyboard entirely in your primary reach zone—so elbows stay near your sides and shoulders aren’t abducted >20°. (hfes.org)
- [ ] Adjust desk/tray height to put the home row near elbow height. If you have an adjustable tray, target within the sitting range: 584–769 mm (23.0–30.3 in). Standing: 944–1207 mm (37.2–47.5 in). (hfes.org)
3) Keyboard slope and thickness
- [ ] Start at 0–5° slope (front slightly lower or flat). If wrists still bend up or down, try slight negative tilt using a tray or wedge until wrists feel straight. Stay within the typical ranges (–15° to +20° sitting). (hfes.org)
- [ ] Prefer a thinner keyboard: home‑row keycaps about ≤30 mm (max 35 mm) above the desk surface. Consider low‑profile boards if you can’t add a tray. (hfes.org)
4) Split and tent (optional but useful)
- [ ] If you use a split or tented keyboard, open the halves and/or add gentle tenting only until wrists feel straight side‑to‑side and forearms aren’t pronated uncomfortably. The draft illustrates split (“slant”) and “gable” designs, and allows negative slopes if they help you achieve neutral wrists. (hfes.org)
5) Pointing device placement
- [ ] Keep mouse/trackball on the same level and as close as the keyboard’s home row—still inside the primary zone—to avoid shoulder reach. (hfes.org)
6) Display position (so posture sticks)
- [ ] Sit/stand back, keep viewing distance at least 500 mm (19.7 in), and angle/height the monitor so your head stays balanced (no forward crane). (hfes.org)
Pro tip: If your desk won’t adjust into the recommended ranges, a keyboard tray with the tilt and height ranges specified above is the fastest path to a neutral wrist and relaxed shoulders. (hfes.org)
Turn those numbers into in‑test micro‑coaching
Your typing test can gently nudge safer posture without nagging. Pair the checklist above with at‑test “micro‑coaching” that reacts to metrics typists already produce:
- Nudge on bursty errors: If error bursts rise after 60–90 seconds, show a 15‑second micro‑tip like “Quick posture scan: are elbows near your sides and wrists straight? Try dropping slope 2–3° or moving the keyboard 1–2 cm closer.” Then resume. (Maps to elbow/shoulder/wrist criteria.) (hfes.org)
- Nudge on heavy backspace use: Suggest a negative tilt trial (–3° to –7°) for users who consistently bend wrists up to reach tall rows; remind them to keep the keyboard in the primary zone. (hfes.org)
- Nudge on slowing WPM + rising error rate: Prompt a quick desk check—“Home row ≈ elbow height? If not, adjust tray to sit within 584–769 mm (sitting) or 944–1207 mm (standing).” (hfes.org)
- Nudge on long sessions: Every 10–15 minutes, rotate a one‑line cue tied to the draft’s allowed postures: “Shake out shoulders; keep abduction <20°; re‑center the mouse.” (hfes.org)
Keep the nudges optional, tiny, and measurable. Offer a one‑click “Try it now” link to an overlay with a level/angle visual and a 30‑second retest.
Measure, adjust, re‑test: tie posture to WPM and errors
Here’s a simple A/B plan you can roll into a “Typing Health” series:
1) Baseline: Have users run two 2‑minute tests—log WPM, error rate, and self‑rated comfort (1–5). No changes yet.
2) Adjust: Apply one checklist change only (e.g., lower tray 10 mm; set slope to ~0°; move mouse inboard 20 mm).
3) Re‑test: Repeat the same texts. Show deltas: WPM, errors, and comfort. Note which change produced the biggest positive swing.
4) Iterate weekly: One change at a time beats wholesale overhauls. After 2–3 cycles most users find a neutral wrist, lower shoulder effort, and steadier accuracy.
A note on the draft status and fit for real people
- Draft means “in motion.” Treat the 2026 document as guidance today and verify final numbers when HFES publishes the approved standard. (hfes.org)
- Anthropometry is multivariate. The draft’s 90% accommodation target and HFES’s VFT reflect modern, diverse body shapes (CAESAR data reweighted to NHANES, with UMTRI supplementation). If you design tools or desks, the free VFT helps estimate who your setup fits—across multiple dimensions, not just stature. (hfes.org)
Bottom line
If you make your keyboard height, tilt, and reach measurably match the draft’s neutral‑posture targets, you’ll almost always see steadier accuracy and less fatigue—and your users can prove it with “measure, adjust, re‑test” loops tied to WPM and error deltas.
